DIY Workbench

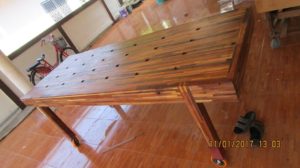
It is almost a rite of passage that at some point in time a woodworker should construct their own workbench. While it can seem like a bit of a daunting task–especially since you will ultimately rely on it for all of your future woodworking projects–building your own workbench is really the only way to go.
Aside from the fact that you can have pride from having built your workbench by hand, there is a host of other benefits and reasons for why you should build your own workbench. In this article, we will run through some of the best reasons why you should build your own workbench.

Customization

Everyone has their own ideas of what the best workbench should be. While there may be one or two workbenches that you can buy that entice you, chances are there are at least a couple things about the workbench that you would change if you could. Thankfully, if you build your own workbench, that is no longer an issue. By building your own workbench, you are given the freedom to design it however you want.

Workbench Height

It is important that your bench fits you and the way you work. A bench that is too high or too low for you can lead to back aches, or worse.  You might consider an Adjustable Height Workbench.  Regardless, please be sure that your bench is the right height for YOU.

DIY Workbench

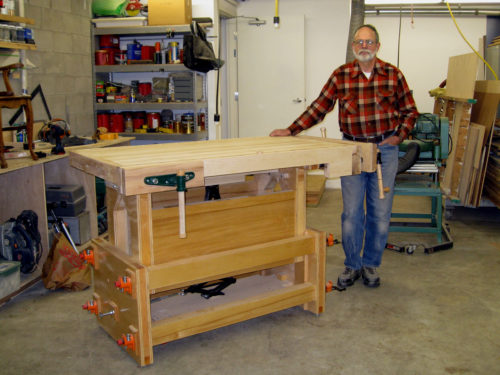
David’s DIY Adjustable Height Workbench

Workbench Size

Not all people have the same amount of space in their workshop. Some people might be lucky enough to have a glut of room in which to work, but most people have to deal with the reality that workshop real estate comes at a premium. Of course, if you build your own workbench, you make it as large or as small as you desire.
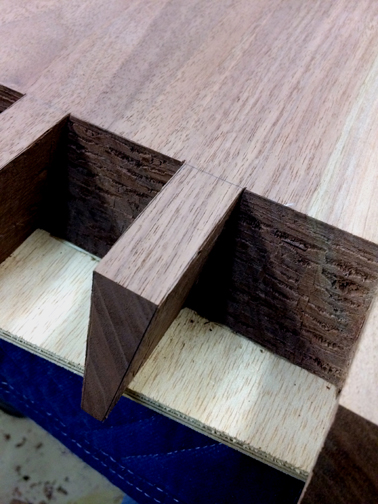
Workbench Design

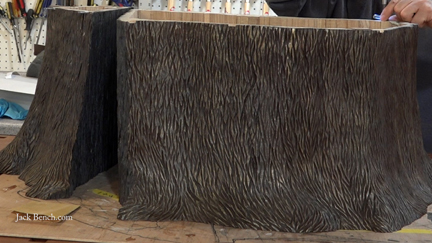
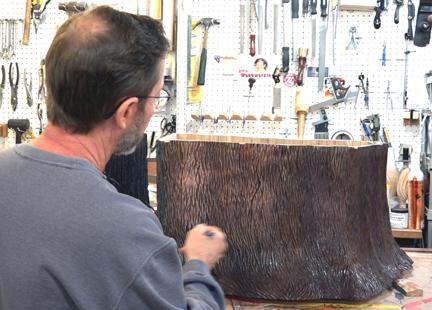
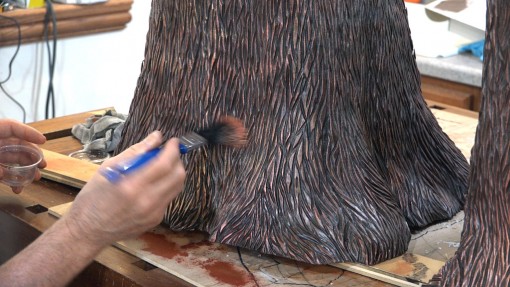
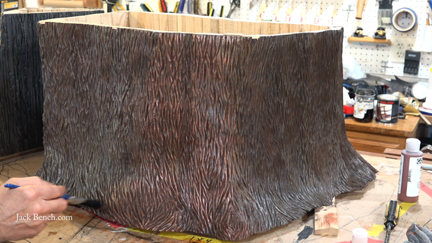
This can be approached from a couple different angles. First, if you are already somewhat of a skilled woodworker, you can ensure that your workbench is truly a piece of art. By adding a number of aesthetic touches, your workbench will stand out as a unique piece that has not been replicated elsewhere. This alone can make the workbench become a family heirloom to be passed down from generation to generation.
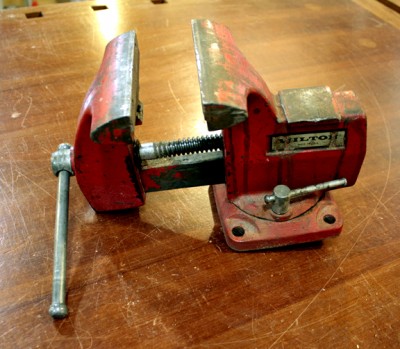
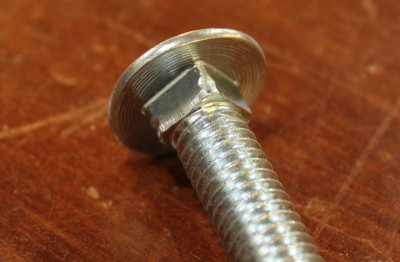
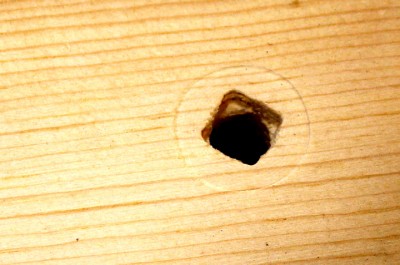
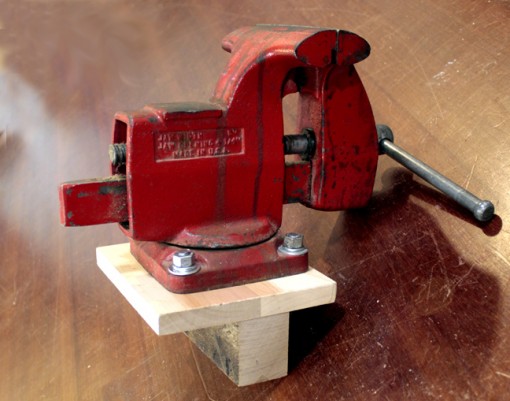
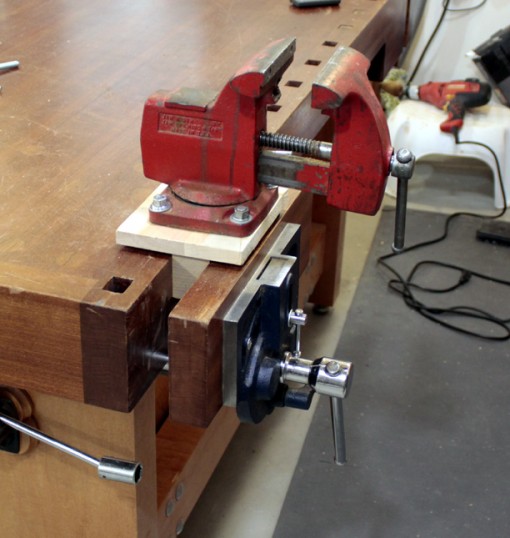
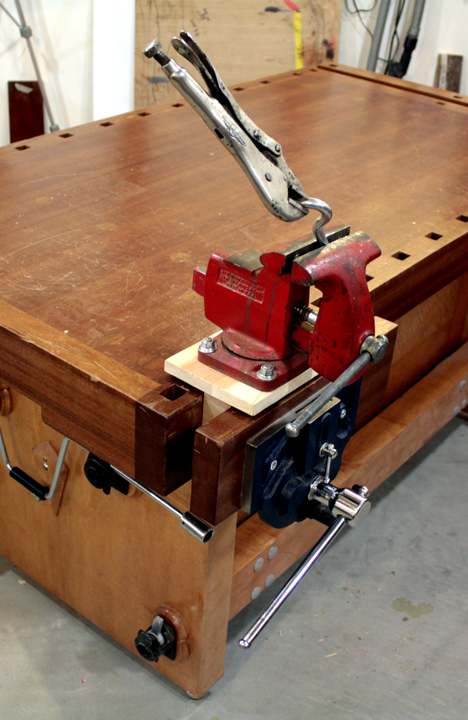
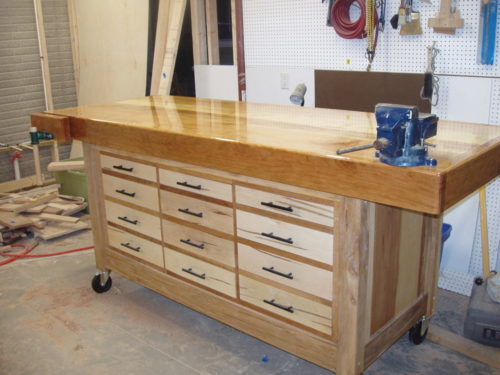
Of course, the other primary design benefit to building your own workbench is the fact that it can have whatever additional qualities you decide. If you need more storage space than most workbenches provide, that is no longer an issue. Holes and dowels are also left up to your imagination and the physical limitations of your workpieces. You can also add some genuinely practical and high-quality vices.

Bench Quality

One of the biggest reasons to build your own workbench comes down to craftsmanship. While there are plenty of manufacturers that produce high-end workbenches, they often tend to be well over $100 dollars. Once you start getting too low in price, you find that the quality of the workbench no longer justifies its price. By building it yourself, you can make sure that the workbench maintains a high standard.

Workbench Materials

One of the biggest issues with pre-bought workbenches is that they often use mid to low grade wood unless you are willing to shell out serious cash for quality hardwood. Even then, most pre-made workbenches get their wood from tree farms which rarely allow the wood to fully mature before harvesting it. When you build your own workbench, you are able to make sure you use only the best wood.
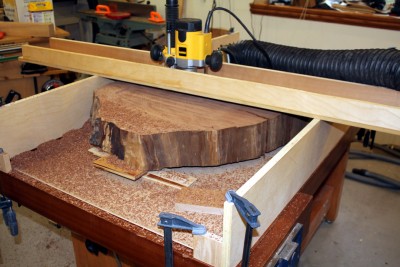
Techniques

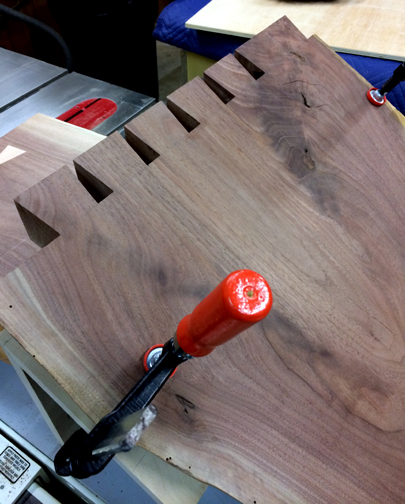
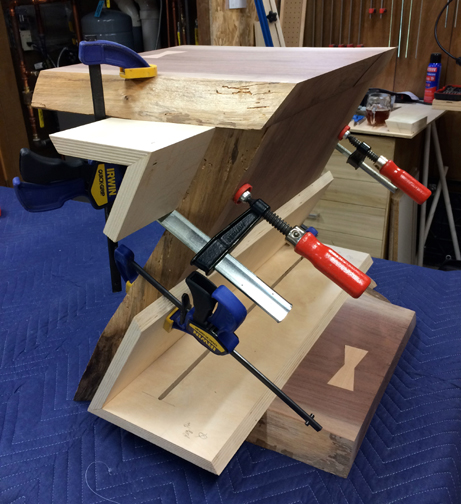
Even if the company uses a decent quality of wood, that does not guarantee that they use the best techniques to construct or manufacture the workbench. One of the biggest issues with workbenches is that they are often not flat. By making it yourself, you can ensure that the workbench is both stable and flat. You can also go so far as to build it without using hardware to fasten it together–an uncommon practice for prefab workbenches.

Workbench Cost

This one can be a bit hit-or-miss. If you have access to high-grade hardwood that properly matured before being harvested, then it is a no-brainer: it is cheaper to build your own workbench. That said, if your region does not grow top-tier hardwood and you have to purchase imported wood, it will often be similar in price to a prefab workbench.

Practice

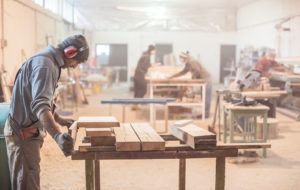
The whole point of woodworking is to increase your skill with making wooden projects. What better way to do this than to work on a project that you will use, and what project will you end up using more than a workbench? Not only are you liable to pay close attention to your techniques and craftsmanship, you are likely to learn a great deal about the craft itself along the way.

Conclusion

Whether you want the workbench to be just so or you simply want to make sure that it is exceptionally high-quality, there are plenty of reasons to build your own workbench instead of buying a prefabricated one. On top of the quality and customization, the price of making your own workbench is often less or similar to one that you would purchase.
One thing to remember is that you should build the bench for the woodworker you hope to become not the woodworker that you currently are. Since a solid workbench can last you decades, make sure that the workbench is built for projects you hope to build a decade from now or longer. The best way of doing this is by acquiring a solid set of workbench plans–remember, you can always “improve” on them too.

James Niehaus

Perfectcutsandmiters.com

A BIG THANKS to Jim at Perfect Cuts and Miters for offering this guest post for the Jack  Bench blog page!

Building a workbench from reclaimed wood is both easy to do and easy on the wallet. You can gain even more in character of appearance if you source reclaimed wood for your project.

While reclaimed wood has grown into a trendy choice for interior decorating, it also makes for some of the best stock on hand for building anything from wooden toys to, as in this case, a sturdy workbench.

There are just a few things about reclaimed wood of which to be aware before you sink any nails or apply the glue.


Hidden Treasure

If you are unfamiliar with reclaimed wood, you might find yourself questioning this choice at first blush. The pieces are hardly smooth or square. It looks like an irregular mess of warped, crooked and rough sawn pieces.

However, when you take a closer look, you begin to notice the aspects of reclaimed wood that makes this source of material very appealing.

Beneath the crusty dirt or chipped and fading paint, through the nails or other metal, beyond the authentic aging and abuse, there is some fine quality wood there.

Depending upon the age and origination, you may have some high-quality, slow-growth stock that stands up to the demands of a reliable workbench.


You Decide: Old or New

With reclaimed wood, you get to make the decision whether you want to maintain its original appearance or take the time to mill the pieces. Beneath what can be considered a clever disguise, there is “good as new” wood just under the surface.

Remembering the fundamentals of a workbench are simple, your approach to preparing your stock should be as well.

Ultimately, the choice of design and degree of intricacy is up to you. Either way, step one is to address cleaning it up.

Cleaning Reclaimed Lumber

Reclaimed timber has trace elements, shall we say? It may have been a barn, at one time, or a gymnasium floor. Between the elements, exposure to natural waste, bugs, the presence of lead paint or chemical treatment typically applied to pallets, you will need to clean this wood.

A stiff brush and compressed air will clean off the finer particles. You can use soap and water to wash the pieces clean. You want to be careful with pressure sprayers to avoid damaging the wood. Using water means you will need to spread the pieces out to thoroughly dry.

Keep in mind, you want to avoid breathing in the sawdust from chemically treated lumber.


Inspect for Hardware

You will want to perform a visual inspection of all the reclaimed pieces to ensure there are no nails, tacks, screws or other remaining hardware and remove as many as you can. It only takes one nail to dull an expensive blade. And let’s be honest, for example in the case of table saws the blade doesn’t cost much but you really don’t want to ruin even a single blade by accidentally running it into a nail.

Urban lumber is notable for its remnant metal. You may appreciate the way the nail holes add character to the wood with their black stains.


Rough around the Edges

Reclaimed stock invariably shows the saw marks from how it was cut. Again, you can choose whether to keep these traces or sand them down. You would be able to mix and match the pieces to accentuate this aspect.

There may be pieces that are thicker at one end or irregular in shape. You can choose to work with these shapes unless you want to do the millwork to make them uniform in appearance. A workbench gets put through the paces anyway.

If the uneven qualities do not interfere with the intended work to be performed on the workbench, these aspects could add to the overall visual appeal.


Locating Reclaimed Lumber

There are numerous sources for reclaimed wood. Start where you are with local connections such as scraps and pallets from shops. Look for those people who specialize in repurposing barn wood or perform urban demolitions. Every time a store is turned over, there is a moment when the interior is remodeled.

In this process, there is a good deal of demolition where lumber might be reclaimed. Keep an eye out for tree trunks from which boards could be cut. You may even know of a neighbor who has a stock pile of logs they plan to get rid of. Just collect all that lumber and start crafting your workbench!

A very special thanks to  Paul Stanley at Woodworkboss.com for submitting this great guest posting for the Jack Bench Blog!!

Click Here to Watch the Full Veneering Demonstration

Russel Claridy of Simply Wooden Creations invited me to present a live wood veneering demonstration on his weekly YouTube show, “Let’s Talk Shop With Russ”  I was honored to have been invited and of course I said yes.  Doing a demonstration live is a bit different than doing a video because there is no editing!  I covered as much about wood veneering as possible within the time available.

Much of what I showed in this demonstration was already covered in my Basic Wood Veneering Made Easy video.  Of course the big difference, besides that there was no editing, is that this demonstration was interactive.  So, I received comments and questions as I went along.  It is also a lot more fun to present a demonstration in real time with other people as opposed to doing it in front of a camera in my shop.  Of course, I am usually not all alone when I am filming my videos because Zippy likes to stay close by.

The main points that I covered in the demonstration were:

  • Why veneer?
  • How veneer is produced and distributed
  • The importance of numbering the veneer sheets when you get them
  • My favorite place to buy veneer – Certainly Wood.com 
  • The many advantages of veneer
    • Easy to work with
    • Grain direction/wood movement is not an issue as it is with solid wood
    • Availability of exotic woods that are either  prohibitively expensive or simply not available as solid lumber
  • Pros and cons of different veneering substrates
  • Pros and cons of several different glues for wood veneering
  • Several different tools that you can use to cut veneer
  • Different ways to press veneer
  • Vacuum bags and how to inexpensively make your own vacuum bags

I also talked a little bit about marquetry and did a brief demonstration of the “window” method for producing marquetry  pieces.

Unfortunately, we ran out of time before I was able to show how I tape veneer together.

The good news is that my veneering demonstration was very well  received!  In fact, Russ asked me if I could do a follow up demonstrations sometime in the next few weeks.  Of Course I Will, and I am pretty excited about it because now that I have covered most of the basics I can move on to the really fun stuff!

In fact, I already spent a few hours in the shop deciding exactly what to demonstrate and exactly which veneers I will use.

We haven’t set a date for the follow up demonstration, but I will definitely announce it on my Facebook and Instagram accounts.


A very special thanks to  Paul Moore at Woodworkboss.com for submitting this great guest posting for the Jack Bench Blog!!

How To Start Woodworking From Your Home Garage

You want to take up woodworking in your home garage, but you don’t know where to start?

Whether you intend to do woodworking as a weekend hobby, or whether you intend to take on a series of do-it-yourself projects around the house, this guide will give you some important tips to get you started.

Choose your work-space

Before you get started, you will want to make sure that you have a clean and sufficient space to work in.

A simple, well-lit, workbench or desk should be fine for small projects. You may also want to be sure that you have sufficient power outlets, if you intend on using power tools, in your work-space.

Safety First

Once you’ve decided on your work-space, you’ll want to make sure that you have the gear to help you minimize accidents while you are working and creating.

A pair of safety glasses or goggles and some work gloves should be fine, to get you started.

Depending on the size of your projects, and what they may entail, you may also consider wearing sturdy work shoes or boots, to protect your feet and an apron to protect your clothes.


You might consider wearing some old clothes you don’t mind getting a bit mussed up, instead.

Tools of the Craft

Before starting any craft project, it’s always a good idea to make sure you have all the tools you are likely to use, on hand, before you begin.

The following is a list of tools and their purposes, to help you get started:

Marking & measuring tools:
“Measure twice. Cut once.” Before you start cutting on any piece of wood, you want to make sure you have a tape measure, a carpenter’s pencil for marking and a combination square to make sure your marks line up, properly.

Cutting tools:
There are a lot of tools to choose from, but if you are just getting started you’ll want to consider getting yourself a circular saw, for straight cuts and a jigsaw for round cuts. (*Note: you will definitely want to be sure you have safety gear when handling these power tools.)

If you don’t feel you’re quite ready for power tools or you need something less expensive and/or quiet, for cutting, a handheld back-saw is a good alternative.

Shaping tools:
To smooth out the rough spots and rough edges on your work and for details, such as beveling, carvings, and moldings, you will want to make sure you have the appropriate shaping tools.

For simple projects, some sandpaper and a small chisel kit should suffice. Sandpaper comes in a multitude of textures, so you’ll want to be sure you have the right grit for the job you’re crafting.

For bigger jobs, you’ll want to be sure to have a block plane.

For more intricate tasks, you’ll want a router that comes with a variety of bits for you to choose from.

Tools to hold it all together:
You probably already have the following items in your toolbox, but it doesn’t hurt to make sure you have a hammer, a flat-head screwdriver, and a Philips head, at the ready.

You’ll also want a cordless drill for making holes. Besides a variety of drill-bit sizes, these usually come with screwdriver bits, to save you time from using a manual tool.

Make sure that you have enough nails and screws to finish your project.

For more intricate projects, you’ll want to make sure that you have wood glue and clamps, to hold your wood pieces together, while the glue dries, if necessary.

As you can see, it’s not difficult to get started woodworking in your home garage. Once you have prepared your work-space and made a trip to your local hardware store, all that’s left is to pick your project, and purchase the wood.


David Marks is a woodworking genius and more importantly, he is a great person.  A while back I spent an entire day with his at his studio in Santa Rosa, CA.  While I was there we filmed a video where he demonstrated turning a 400 pound vessel on his lathe.  We also filmed a tour of his woodworking school.

Recently, he sent me some DVD’s of his Woodworks TV show to give away on my Jack Bench YouTube channel.  Each of these DVD’s contains an entire season of Woodworks.  So, each DVD actually has 13 full episodes of his show.  That is about 5 hours of woodworking instruction and entertainment!  Normally, these DVD’s sell for $69 each and I am giving them away!

I wanted to make it easy to enter the drawing and I also wanted to do something to show my  appreciation to David and his wife, Victoria for their generosity.

I also want to say David not only has a great woodworking school, but he also has a great website and a  great newsletter for woodworkers.  His newsletter has information about him, his school, and his latest projects.  He also includes at least one or two tips on how to more easily bring your woodworking projects up to the next level.   I guess what I am saying is that anyone who is interested in woodworking should go to his website and sign up for his newsletter!!

I am also saying that his Woodworks show was one of the best woodworking TV shows, ever!  In my opinion it was actually THE best woodworking show.  If you ever saw it then you know what I mean and if you haven’t then consider entering the drawing for one of the DVD’s that I am giving away.  Or, go to David’s website and purchase one to see for yourself how good his show actually was.

I have a very nice woodworking workbench.  My bench is adjustable height, has a built in mobile base, bench dogs, a twin screw vise on one end and a quick acting face vise on the other end.  It is a fantastic bench for woodworking, which is most of what I do in my shop.  I do like metal working, but I focus on woodworking.  Occasionally, I need to use a metal vise and I discovered a great, and very easy, solution.

I have two metal vises.  I keep the better one in the garage and I have a smaller one that I keep downstairs in my woodshop.

My old Wilton metal vise

This is a really quick and easy tip.  I just bolt a tee shaped block on to the bottom of the metal vise.  On those occasions when I need a metal vise I drop it into one of the vises on my woodworking workbench, tighten it down and I am ready to go!

The block is made up of a small wooden “plate” with holes that correspond to the mounting holes in the vise. I glued another block on to the plate that can be clamped into the vise on my bench.

Tee shaped mounting block is bolted on to bottom of metal vise

Notice that I use carriage bolts to connect the plate to the bottom of the vise.  I often use carriage bolts on wood because once I pound them into the wood they will lock in place.  This means that I don’t need two wrenches to tighten the bolt.  The heads on the carriage bolts also give a much more finished appearance than regular hex heads.

Carriage bolts have a square section just under the head

You can create a recess in wood by tapping the carriage bolt with a hammer

Then the carriage bolt will fit snugly into that recess

Carriage bolts have a very finished look when they are flush with the surface

Metal Vise ready to install on Woodworking Workbench

I normally store the metal vise someplace out of the way.  When I need to use it I just pull it out, drop it into my face vise, tighten it down, and I am ready for metalworking!

Metal vise temporarily installed on Woodworking Workbench

This is how the vise “might” look when I am actually using it!

Fun with vises on my workbench!

I have to thank my friend Al Frank for giving me the idea for this.  I don’t know if it was his original idea or if he “borrowed” it from someone else, but I really like it.  I hope you like it, too!

Please be sure to check out my other blog articles and for sure leave a comment.  I would love hear about how you approach this issue in your shop!

Thanks!

Charlie

I have two big announcements this week. Neither are directly related to workbenches, but they are both solid woodworking topics!  The first is that I finally decided to attend the Woodworking In America Conference held on September 16-18 in Cincinnati, Ohio.  This will be the first time I have attended and I am really looking forward to it!  Please let me know if you will be there because I would love to have the chance to meet you.

The second big announcement is that I have been invited to be a contributing editor for the Woodworker’s Guild of America!  This has been in the works for several months but I have resisted saying anything about it until now.  So far, I have produced one video and an accompanying article.  They have not released my video yet, so I don’t want to say anything more about it right now.  I will let you know more when they release it.

The saga of my broken Ridgid Sander is over.  I was ready to hit it with a hammer and throw it in the garbage! It had quit working and it wasn’t a bad cord or a loose connection.  The brushes looked good, too.  I went on the Home Depot website and all it said was that their power tools came with a 3 year warranty.  I received many comments on my YouTube channel saying that Ridgid tools have a lifetime warranty.  Obviously, I was skeptical because of what I saw on the HD website.  Well!  As it turns out, they do have a lifetime warranty IF you send in the registration form, something I almost never do.  However, THIS was the exception.  Long story short, they fixed my sander for free!

They Fixed My Sander!

I am planning a big road trip on my bike!

Summers in Minnesota are beautiful!  They are also very brief.  Consequently, I have been spending a lot of my time bike riding.  This next weekend I am going on an overnight bike ride with a group of friends.  It is 60 miles each day and I am a little worried about that!  The longest trip I have taken this year was 37 miles and I was really tired after that.  It will be a fun trip regardless and I will let you know how it turns out.

My friend Jeff Hand send me photos of a Z shaped end table that he made.

Jeff Hand

Walnut Slab End Table

Jeff made this from a single walnut slab.  He joined the pieces together with large angled dovetails.

Dovetails

He used custom made angled clamping cauls to put it all together.

Angled Clamping Cauls

Dovetails

I want to let you know about a really crazy YouTube video by Peter Brown.  Peter comes up with some pretty crazy ideas, but this one was really off the chart.  He turned a small piece of wood on his lathe, but he did it using only a strobe light.

A few months ago I made a slab coffee table.  It was quite an undertaking and I have 4 other articles on this woodworking project.  This video is an overview of the entire build process!  This video also includes how I did the copper finish on the base and a bit on how I finished the top of the slab.  This article is primarily about how I applied the copper finish on the coopered wooden base.

Before I talk about the finish, let me tell you about the other 4 parts of this build!

The first step in the build of this table was to flatten the slab.  I made a simple router jig that worked amazingly well!

The second, and most challenging part of building this table was constructing the coopered “Tree Trunk” base.  Although it was challenging it was also a lot of fun!

I love carving!  This was far and away the largest carving that I have ever attempted. Sculpting and Texturing with angle grinders  was both challenging and fun!

How and Why I Inlaid Stars in the Table Top is a bit of a story!  It started because the slab was full of worm holes and I wanted to fill them in.

I tried just filling them with epoxy, but it didn’t look right. (I screwed up) Then, in order to cover the epoxy, I decided to inlay stars in those spots.

How and Why I Inlaid Stars in the Table Top

OK!  Now let me tell you about the faux copper finish!

Initially, I wanted the base to have a bronze finish.  This was an easy 2 step process.  First I applied a base coat of brown, then I dry brushed a high-quality bronze paint across the top of the texturing.

Applying the brown base coat

Completed Bronze Finish

When I was done the base looked exactly the way I had envisioned.  It really looked like a piece of bronze! But, when I set the top onto my beautiful bronze table base there was a big problem.  The base had a very green tone and the top had a very red tone.  While each of them looked great by itself, they looked terrible when they were together!

The greenish bronze base looked wrong with the reddish slab top

So, being the perfectionist that I am, I brushed another coat of the brown base color over the top of the “bronze” and started over!

Applying 2nd coat of brown

I had 4 different paints.  First was the brown base coat, I found that I liked Rustoleum’s satin espresso color the best for this.  For the metallic’s it was important to use only the highest quality and I chose “Golden” brand acrylics.  The first one I used was an Iridescent Bronze.  Then I had two copper colors, Iridescent Copper was more reddish and Iridescent Copper Light was more of a gold colored copper.

It is important to use high-quality paint

First I dry-brushed a coat of the more reddish colored copper paint.

Dry brushing the Red Copper color

But the more I applied the more apparent it was that the red was a bit too red.  It seemed to have an artificial look to it.

A little bit too red!

I was glad that I bought both copper colors.  To “fix” the too red problem I dry brushed just the slightest bit of the more gold colored paint over the top of the red.

Close up of base after finish was complete

It is not as easy to see in the photos, but adding that little bit of the golden colored copper paint made a BIG difference!

I was very happy with the final result!

Completed Table, compare this to how it looked with the bronze colored base!

Check out the accompanying articles about this table

Woodworking in America Video

I attended Woodworking in America for the first time this year and I had a BLAST!  I met so many woodworkers, makers, YouTube content creators, and friends fromFacebook that my head was spinning, figuratively speaking!

The Woodworking Podcast Meetup during Woodworking in America

I signed up for the classes, but I had so much fun meeting people that I spent most of my time in the Marketplace.

Amazing collection of infill planes at the Woodworking in America Marketplace

Lie Nielsen and Lee Valley tools had large booths and I couldn’t resist buying a 45 degree saddle square at the Lee Valley booth. Unfortunately, the saddle square is on back order.

One of my favorite booths was the Rare Woods booth.  I like to keep a supply of black colored wood on hand for marquetry and accent pieces, but of course, that is usually pretty expensive and hard to find, too.  Rare Woods was selling 1-1/2″ x 1-1/2″ x 17″ blackwood blanks for $7 each and I bought 6 of them!  I also picked up a 4″ x 29″ piece of ebony for $20.  I have no immediate plans for them, but I know I will use them on something!

Ebony and Blackwood from the Rare Woods booth

Certainly, one of the high points of the entire event was the Hand Tool Olympics.  This is an event put on by Mike Siemsen of Mike Siemsen’s School of Woodworking.  The event consists of three different hand tool activities.  First is hand cut dovetails, second is crosscutting a board, and third is rip cutting and planing a board.  Each of the activities is judged by speed and accuracy.  I did just OK with ripping a board and just terrible with the hand cut dovetail, but I got the BEST SCORE for SPEED and ACCURACY for CROSSCUTTING A BOARD!  And, the prizes were GREAT!  I won a Knew Concepts Coping Saw and a holdfast from Gramercy Tools!

Me with Mike Siemsen after winning two cool prizes at the Hand Tool Olympics during Woodworking in America

There were lots and lots of great classes to choose from and I wish I had attended more of them!  Chris Schwarz, Mary May, Roy Underhill, Shannon Rogers, and many more.  My personal favorite was Matt Cremona‘s presentation on Risk Mitigation in Woodworking.  One of his main points was to pay attention to what matters and the parts that will actually show.  For example, don’t get too worked up about the inside of a mortise and tenon joint.

Matt Cremona presenting at Woodworking in America

I live in the Twin Cities and WIA was in Cincinnati so I chose to drive there.  I didn’t know what else to do with Zippy so I brought him with!  He loves riding in the car and he stayed with my Uncle while I was at the conference.

Zippy in the car on the way to Woodworking in America

Actually, the drive down there and back were quite eventful for me.  On the way down I stopped in Bloomington, Illinois and spent the day with Andy Birkey.  Andy is one of a kind, and I mean that in a (very) good way! Of course I interviewed him while I was there and that should be on my YouTube channel sometime in October.

Andy Birkey, the Big Guy, and me

On my way back from the conference I visited both Guy Dunlap and James Wright.  I got a nice shop tour and chatted with each of them for a while.

Visiting James Wright’s shop in Rockford, Illinois

Visiting Guy Dunlap of Guys Workshop

I also stopped by Nick Ferry‘s shop and hung out with him for most of the day.  What a fun guy he is!  Expect to see an interview on my YouTube channel sometime late in October.

Charlie Kocourek visiting Nick Ferry after Woodworking in America

Here are some more pictures from my Woodworking in America trip:

Tom Prichard and Me

Tim Holiner

With Ray Mowder of TabLeft Workshop

Nick Ferry at the Hand Tool Olympics during Woodworking in America

Randy Wright

Mike Fulton, Bob Lee and Charlie Kocourek at Woodworking in America

Charlie Kocourek and Juan Vergara with one of his cool infill planes at Woodworking in America

Johnny Brooke of Crafted Workshop and Charlie Kocourek at Woodworking in America

David Proctor, Paul Desmond, Wes Swain, Andy Klein and Charlie Kocourek at Woodworking in America

Gib Clark and Charlie Kocourek at Woodworking in America

Dyami Plotke of Modern Woodworkers Association and Charlie Kocourek at Woodworking in America

Guy Dunlap of Guys Woodshop and Charlie Kocourek at Woodworking in America

Chad Schimmel runs a woodworking business in the Phoenix area and he is one of the few woodworkers I know who earn a good living from it!  Chad does a lot of woodturning, but that is just the start of how he keeps his business going.  Chad revealed some of the secrets to his success during a candid interview with me in February of 2016.

Chad has an 1100 square foot commercial space that includes and office.  He has a laser engraver, a CNC, two metal lathes, and a complete wood shop.  He also hires people to help him with the office work and to assist him in the shop, too.

Charlie and Chad at Schimmel Woodworks in Chandler, AZ

Chad’s primary focus is on extremely fine hand made pens.  He also does one of a kind custom woodworking, but his real passion is designing and making some of the finest pens imaginable!  One of Chad’s many specialties is fountain pens made from vintage watch parts.

Vintage Franck Muller Watch face Fountain Pen

Chad also found a market for pens made from historical materials.

Lambeau Field Bleacher Pen

Chad used wood from Abraham Lincoln’s office for this one!

If you go to Chad’s Impeccable Pen website you will see that he made a point of offering a wide range of products.  One common theme is that he focuses on gift items such as gifts for bridesmaids and groomsmen, gifts for dad, and of course gifts for pen collectors.  He also sells a whole line of pen accessories.

Pen Display Trays

Walnut Fountain Pen Desk Organizer Pen tray

Ah, but how to sell all these great products?  Many if not most of Chad’s sales come through Arts and Crafts shows.  He says you need to create interest in your products and it is important to engage people as they walk by.  He is amazed by the people who go to the trouble and expense to set up a booth at a craft fair and spend their time reading a book or playing on their phone rather than talking to potential customers.

Chad has pens that sell for thousands of dollars!  When I asked him about pricing he said he believes that you need high priced items to sell lower priced items.  If someone sees that you have a $2700.00 pen they might think the $60 pen is a bargain!

Chad also makes sure that he prices his work high enough to ensure that he can make a profit.  This sounds obvious, but many craftsmen don’t actually do this.  You can’t just count the materials in the piece and your time in the shop.  You also must account for vehicle costs, equipment costs, and all the time you spend outside the shop to keep your business alive.  Things like accounting, buying supplies, marketing, time on the computer, and all the other time you spend to keep things going.  Don’t cheat yourself!

Chad Schimmel

Chad is a friendly guy and I enjoyed meeting him.  I was also very impressed by his keen business sense.

Check out my article about how David Marks turns a 400 pound hollow vessel!