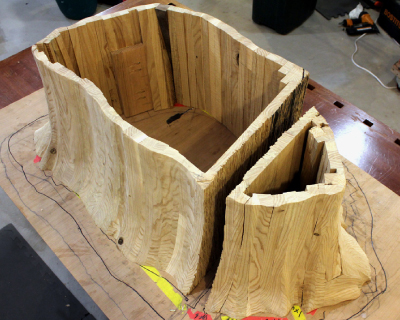
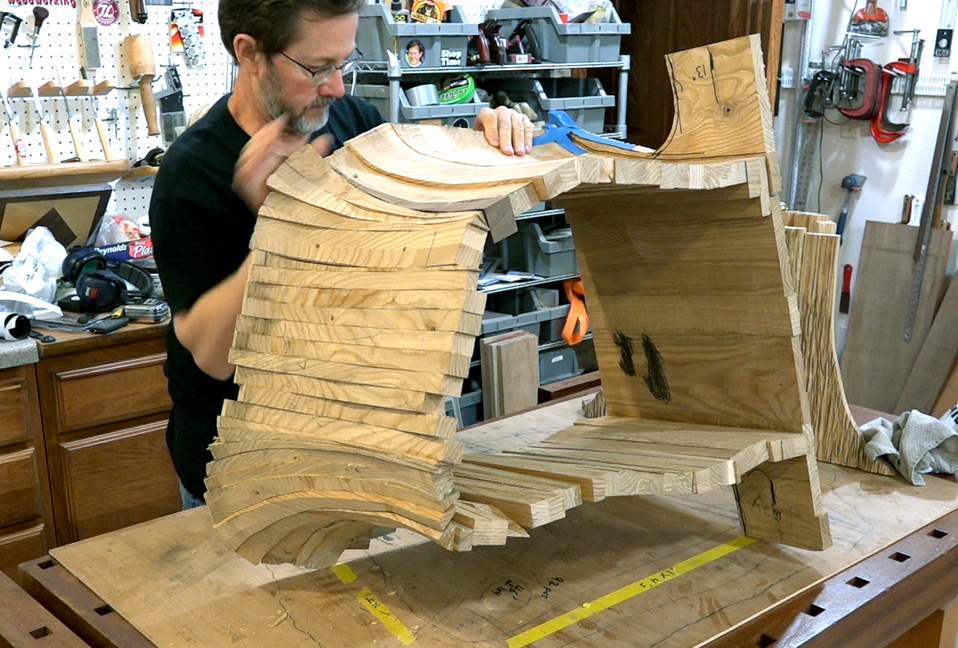
I wanted the slab coffee table to have a sculpted and carved base that looked kind of like a tree trunk. I also decided it would look more interesting if the base looked like a tree trunk that had split in half, so I made the base in two pieces. Since the slab had an open crack on one side I positioned the split in the base under the crack in the top to add continuity.
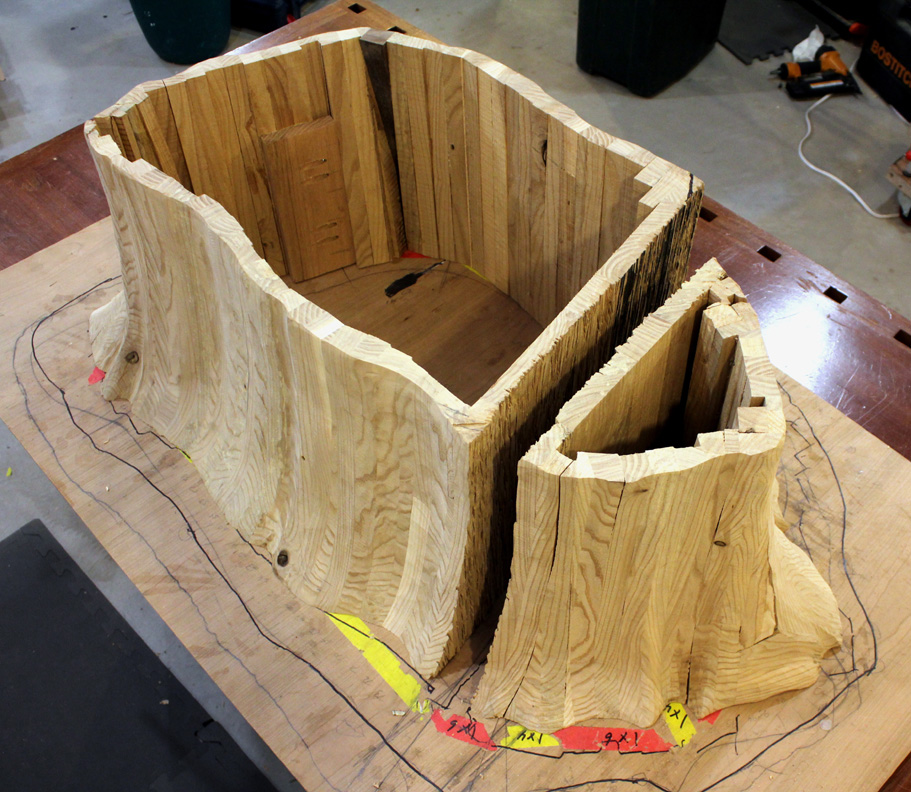
This is how the base looked after I assembled it and cleaned it up with an angle grinder.
I used stave (coopered) construction for the two pieces of the base.
I like working with templates, but usually I can get by without them. This was one of those projects where a template was not just “nice to have”, but absolutely necessary! There is no way I could have kept track of everything without some kind of a road map.
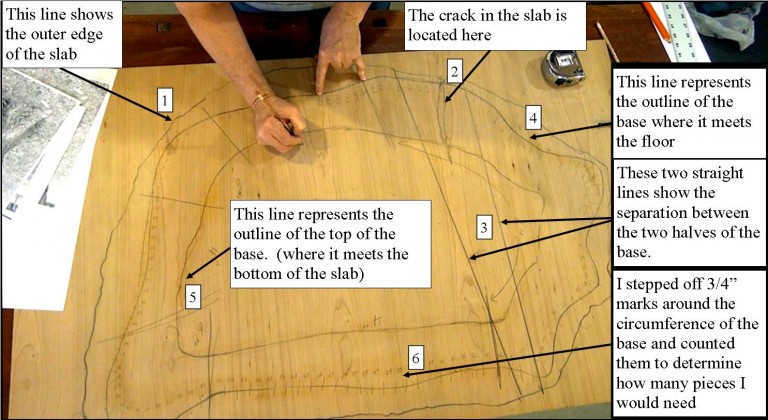
The plywood template was an invaluable tool for this project!
There are six critical pieces of information on the template:
- The first thing I did was to trace the outline of the top on to the plywood. That is the outside line on my template.
- I also located the crack in the slab on to my template.
- I then drew two straight lines to show where there would be an opening between the two halves of the base.
- Next, I drew a line showing the outline of the bottom of the base pieces.
- It was also important to know the outline of the top of the base pieces where the slab would rest on the base. I used this information to draw the templates for the stave pieces.
- It was easy to determine how many pieces (staves) were needed once the circumference of the base was drawn out.
The plywood template represented the plan view of the base, but I also needed templates for the staves that would make up the sides of the base.
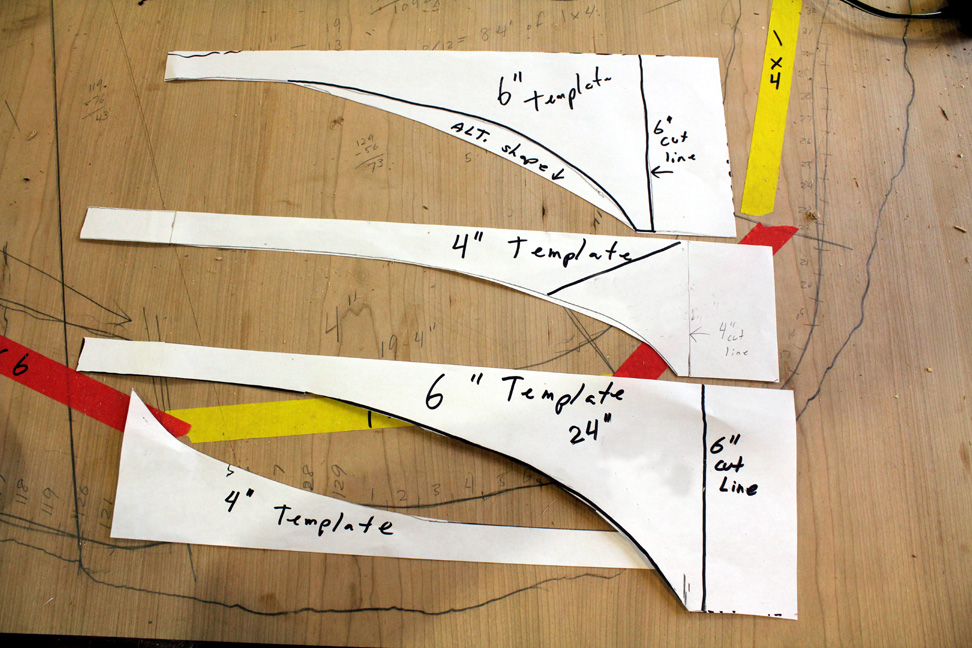
Paper templates for the two sizes of staves
We all know what trees look like, but when it came time to sculpt one out of wood I suddenly had a lot of questions! I actually walked around my neighborhood and took pictures of trees and then used those pictures as a reference.
Trees flair out at the bottom so my table base had to flare out at the bottom, too. To make it to look more interesting and realistic I chose to have it flair differently at different points around the bottom. At some points, the flair was short and steep, and at other points, the flair extended out more. I decided to make two different size staves so that the rough shape of the base would be closer to the final shape that I envisioned. Once I determined where these would be and marked them on the plywood I could get a count as to how many of each size I would need. Assuming 3/4″ material it would take 114 pieces to construct the base!
It so happened that I had a lot of rough sawn ash that had been milled into approximately 1×4’s and 1×6’s so it worked very well for this project. Since it was rough sawn it did require a lot of stock preparation before I could use it.
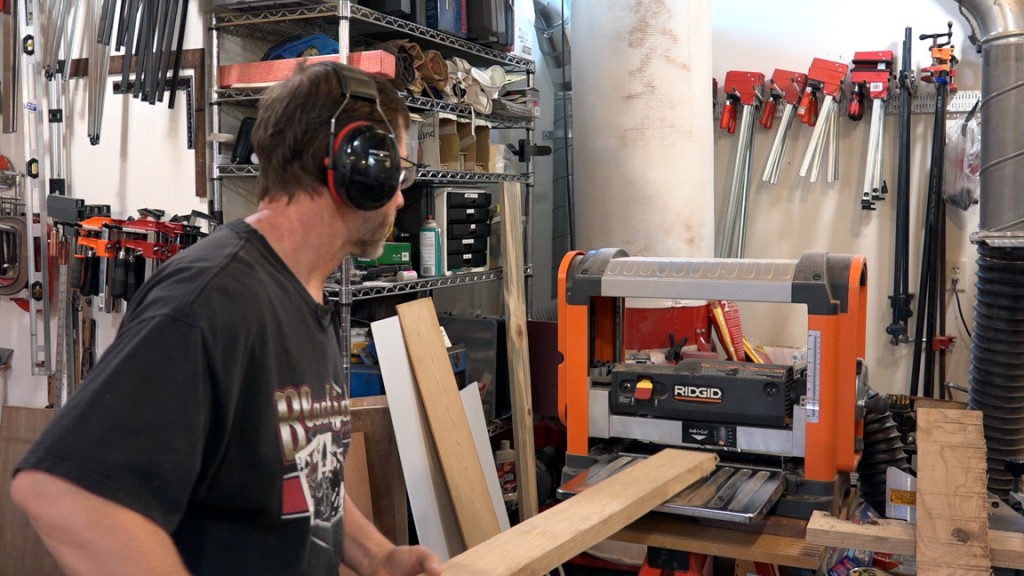
The boards were approximately 3/4″ thick after I planed them down.
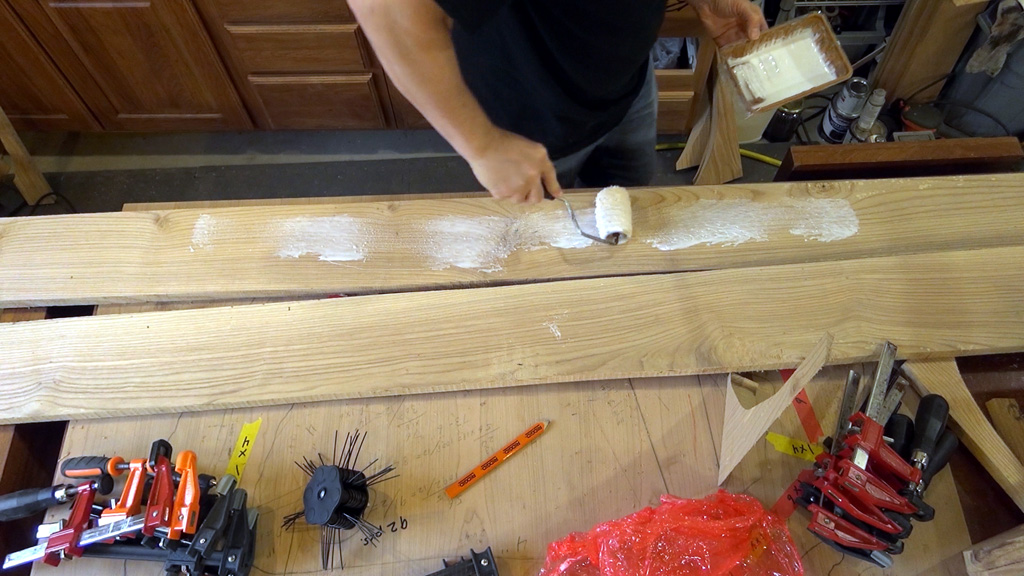
It was easier to glue some of the boards together BEFORE I started bandsawing out the individual staves.

I glued up some pieces that were 1-1/2″ thick and others that were 2-1/4″ thick
After I removed the clamps I used my paper templates to mark out the individual pieces.
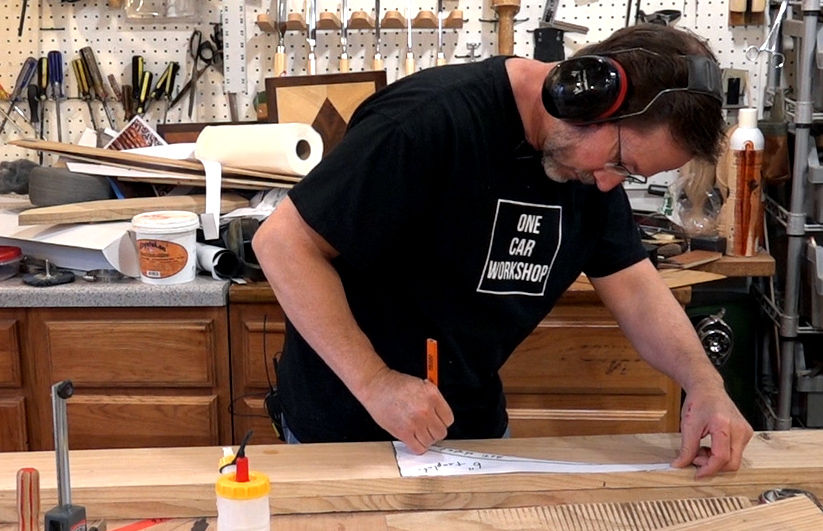
Marking pieces using paper templates
The last thing I had to do before bandsawing the individual pieces was to cut out the blanks on the miter saw
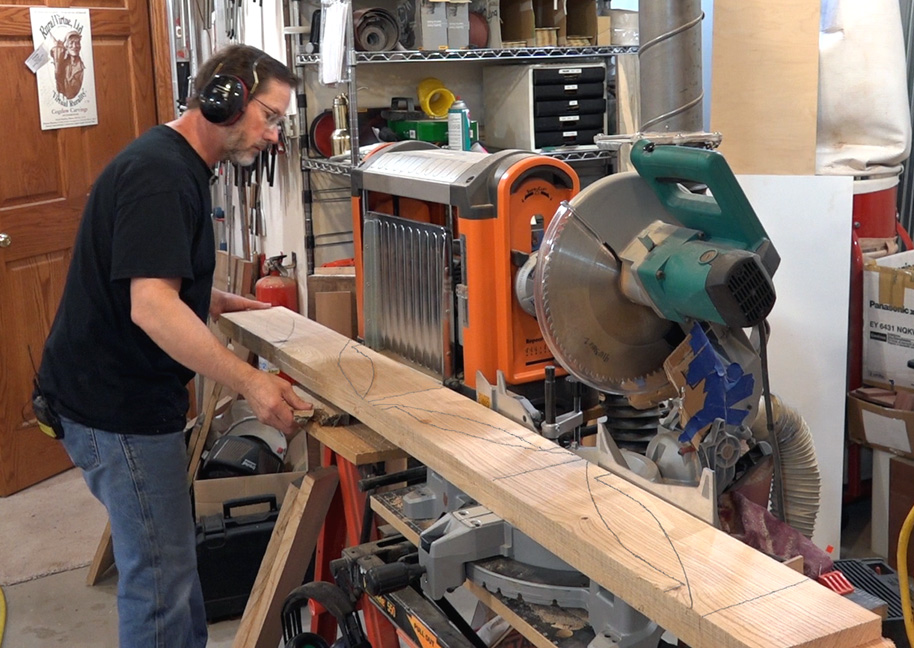
Cutting pieces out on miter saw before bandsawing
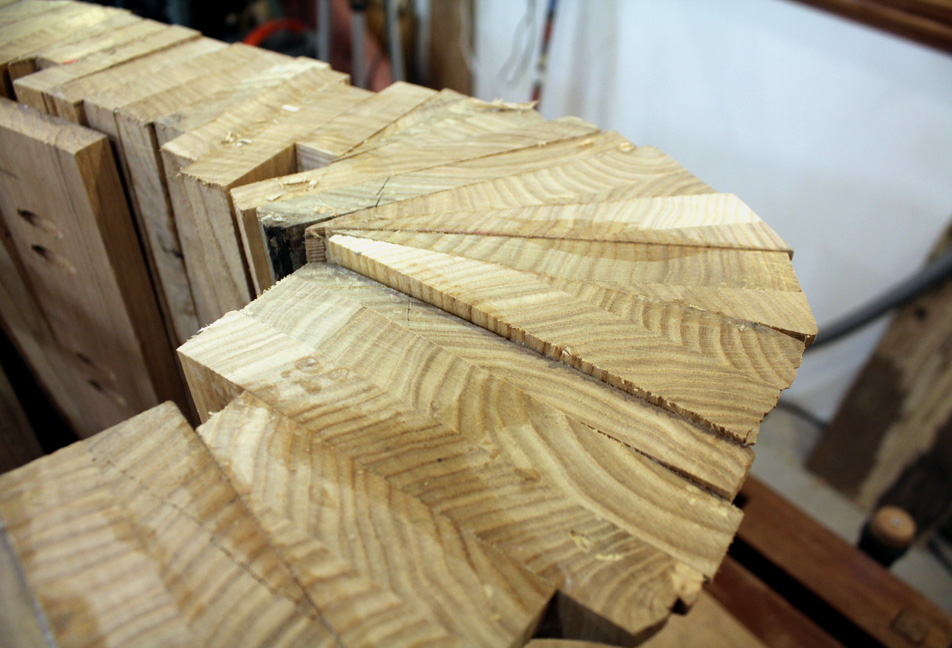
Most of the individual pieces would require two operations at the bandsaw. First was to cut out the shape and next was to cut them at an angle so that when I glued them together that they would match the outline on my the plywood template.
Bandsaws are great machines, but they can be very dangerous. Notice in the picture that my hand is not in front of the blade. Whenever possible, I like to pull the last few inches of a cut from the back rather than push it from the front. This keeps my hands out of harms way at that critical moment when the piece clears the blade.
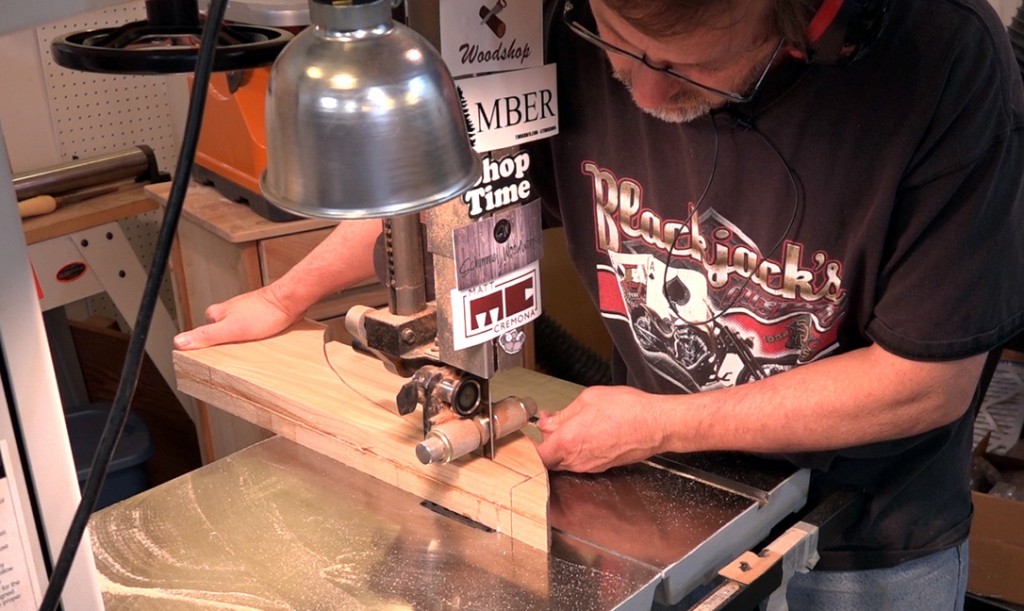
Cutting the individual staves on the bandsaw
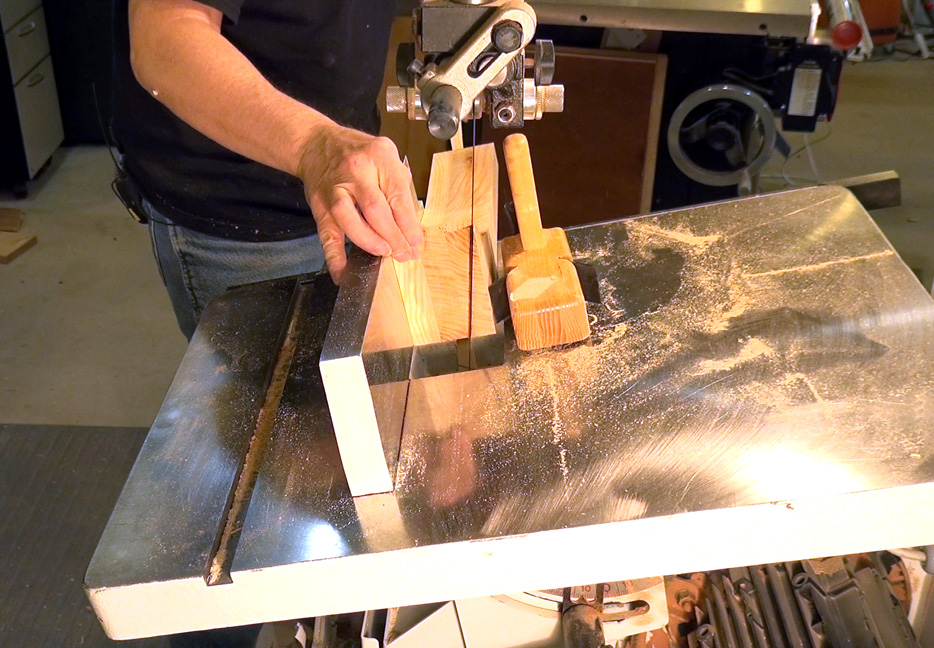
Bandsawing individual pieces at an angle
The plywood template was invaluable when it came to assembling the pieces. I used it both to determine what angle to cut the individual pieces and exactly where to place them.
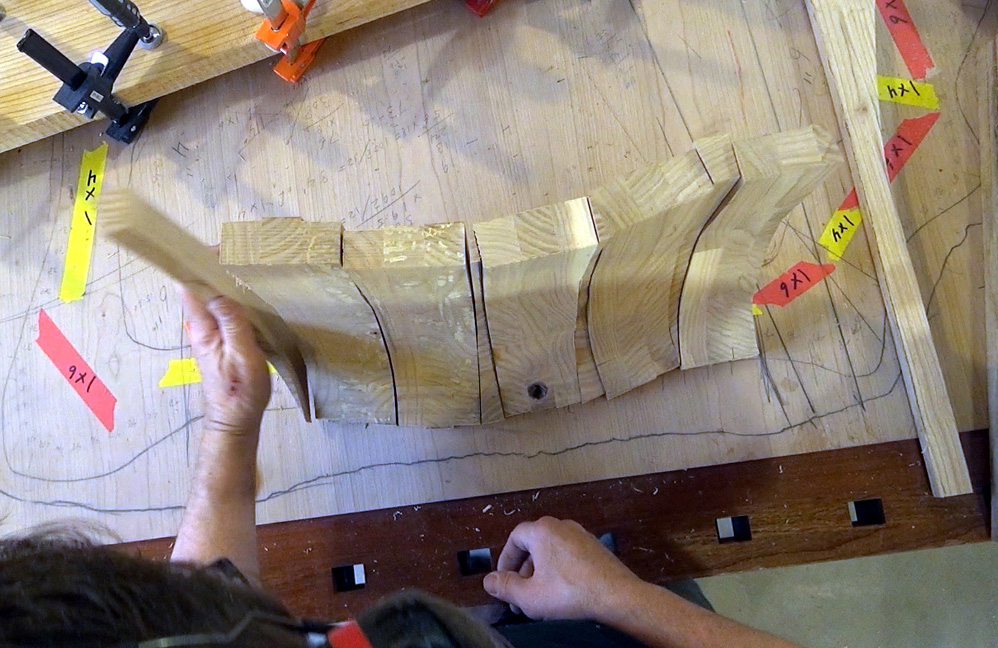
Placing Staves on Template
You can see in this photo how the pieces follow the lines on the template
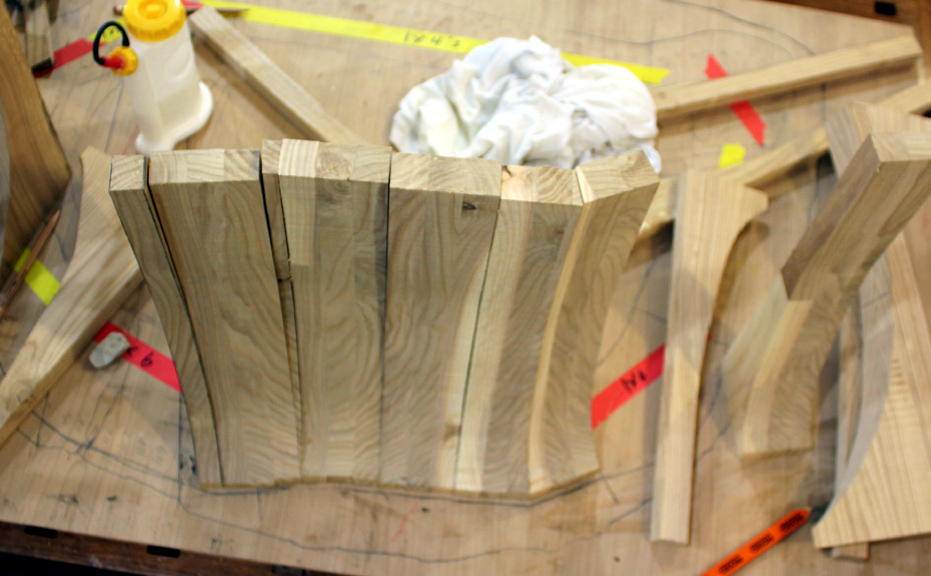
I glued the staves into small sections and then I glued those sections together to form the shape of the base. I used a variety of methods to clamp the pieces together. Clamping straight sections together was fairly easy.
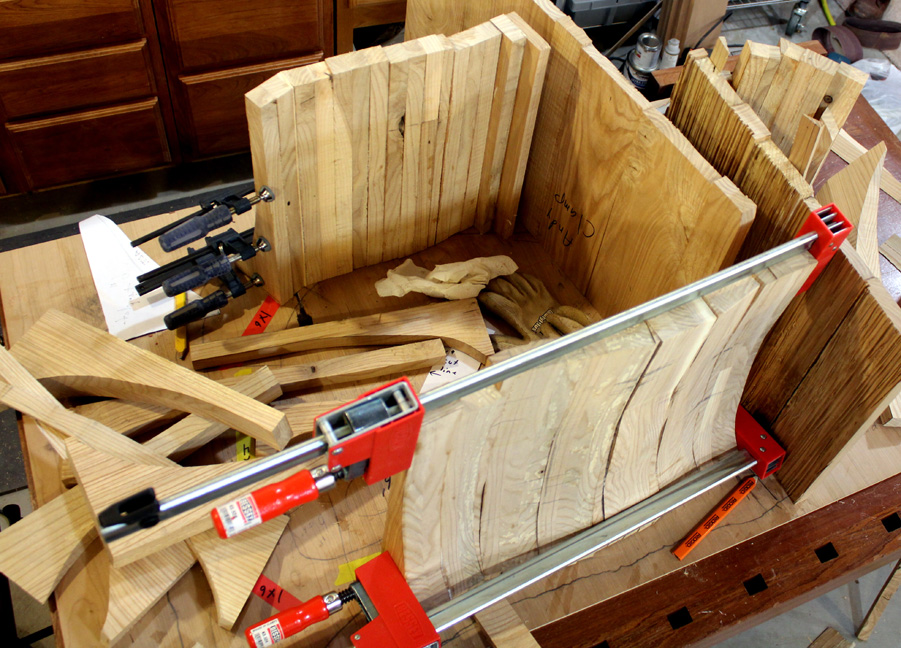
Clamping straight sections together was pretty, well, straightforward!
Gluing curved sections together got a lot trickier! I used a band clamp where possible, but that didn’t always work. Sometimes I used lag bolts to screw blocks to the outside of the piece so that I would have something to hook the clamps on to. The screw holes were not problem since the finished piece would be painted.
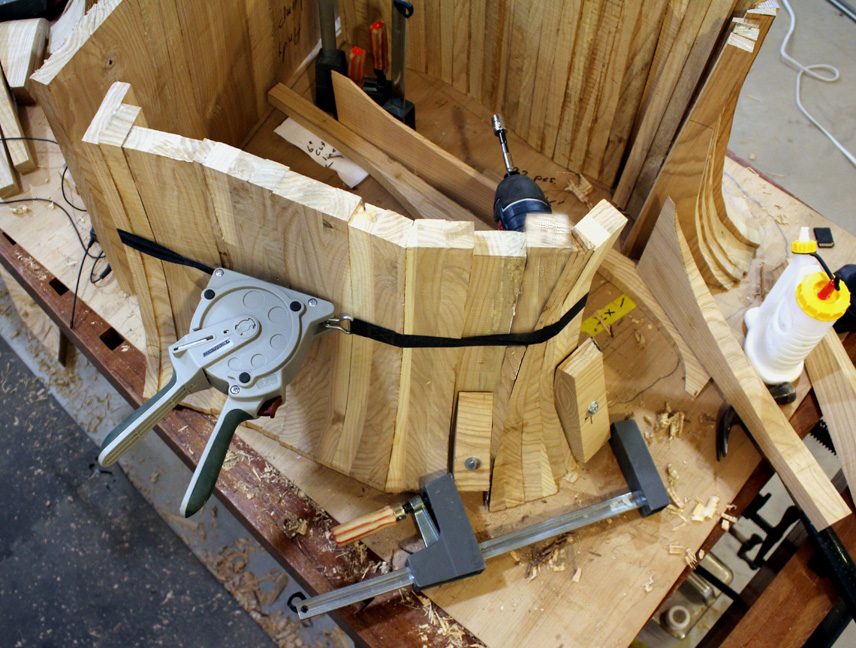
The blocks screwed to the face of the boards gave me a place to attach the clamps.
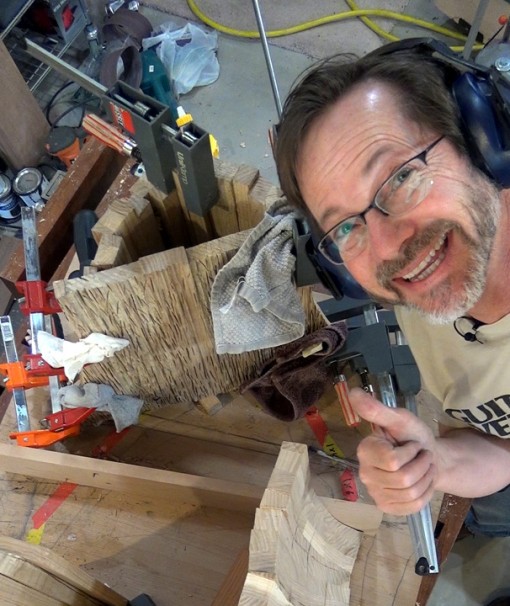
I was pretty happy when I got the small section glued together. That was a real milestone!
I purposely made the staves longer than they needed to be. This way the length of the staves didn’t have to be precise. Once each of the two halves of the base was constructed I trimmed them down with a jigsaw.
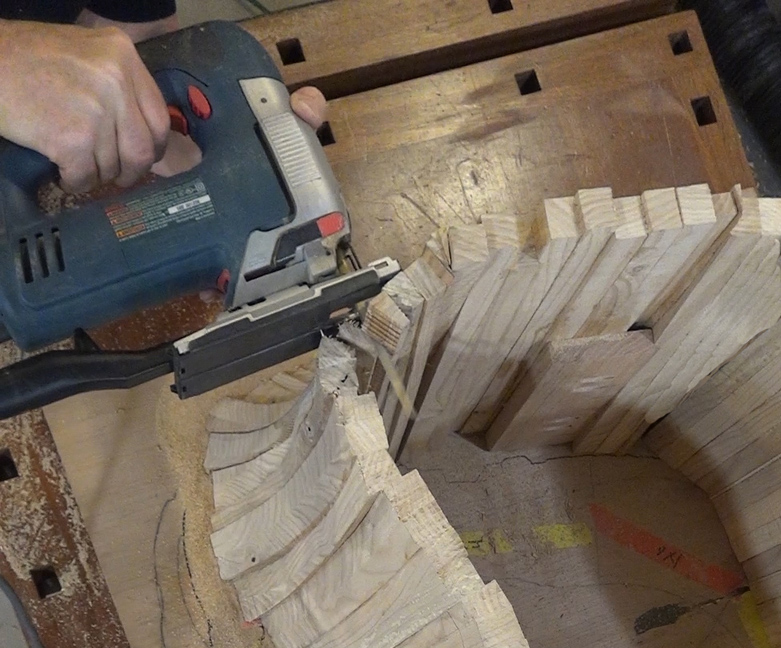
I used a jigsaw to trim the top
The bottom side on each of the two halves was not flat right after glue up. Again, I made them longer than needed to allow for flattening the bottom.
Bottom of base before flattening with the router jig
Once the tops were trimmed down I flipped the pieces over and secured them for flattening. Then I flattened the bottoms of the two halves with the same router jig I used to flatten the slab. I have a complete blog post on the router jig here: Blog Article – Flatten Wood with a Router Jig
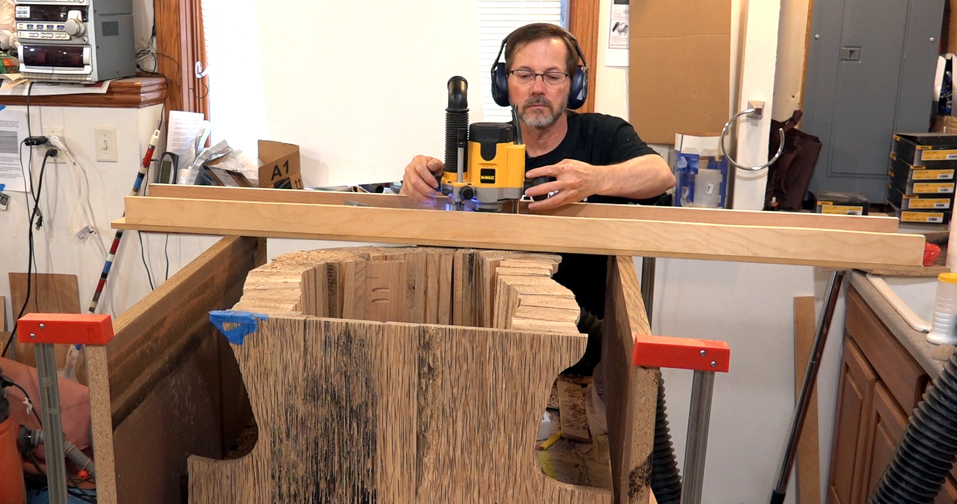
Flattening the bottom of the base with a router jig
Ta-Da! This is how it looked right after construction.
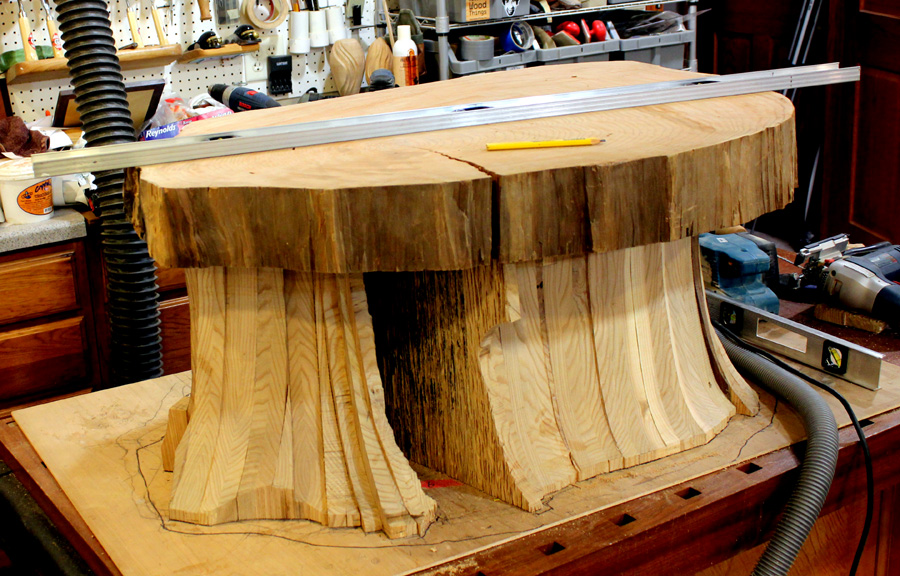
Slab table before base is sculpted, textured or finished
Note: I got a very good result using the coopered (or stave) construction method, but it was quite time-consuming. If I make a similar project in the future then I might experiment with a different method, possibly stacked lamination.
The next blog article will show how I sculpted and textured the base pieces. The last thing I will do to the base is to add a metallic finish, and I have a pretty good story about that!

