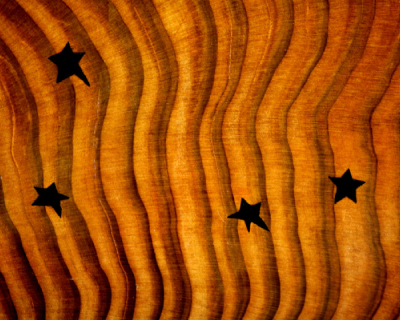
I inlaid decorative black stars in my slab coffee table. This is one of those times when the reason why might be more interesting as the how. The how is good, too but the WHY is a good story all by itself!
The wood slab that I used for the table had a lot of worm holes in it.
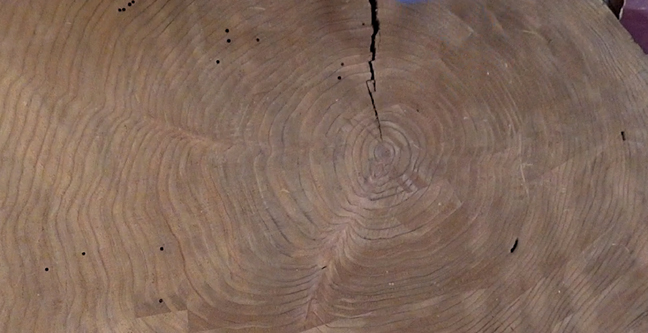
I wrestled with what to do with them. Leaving them just as they were would have been a perfectly good choice, but I couldn’t leave well enough alone. I decided to fill them with epoxy.
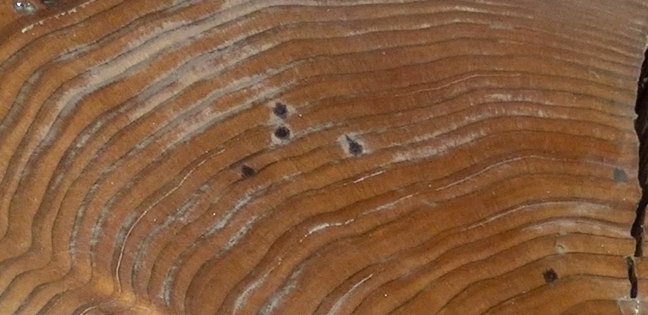
Unfortunately, what I didn’t consider is that the surface of the slab was end grain. As a result, the epoxy bled beyond the worm holes. Rather than the nice distinct little dots that I had envisioned, I ended up with a bunch of ugly little blobs.
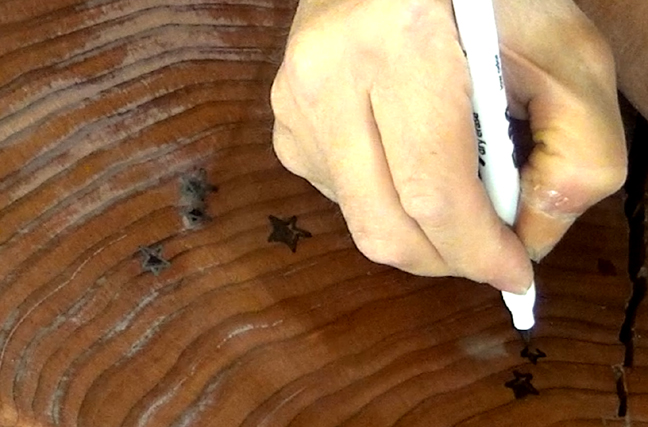
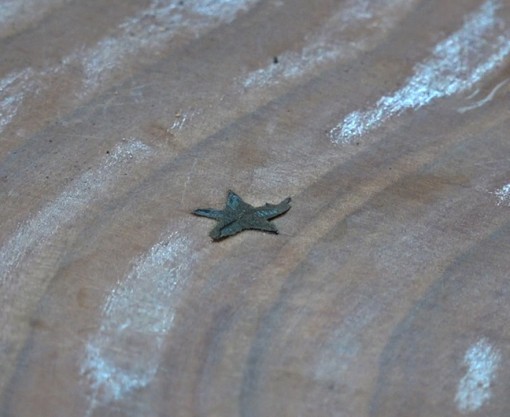
After thinking about it for a while I decided to disguise the, now blobs, by inlaying stars over them. I didn’t want the stars to look like I put them on with a stamp. So, to add interest I purposely drew the stars by hand to ensure that no two would be the same.
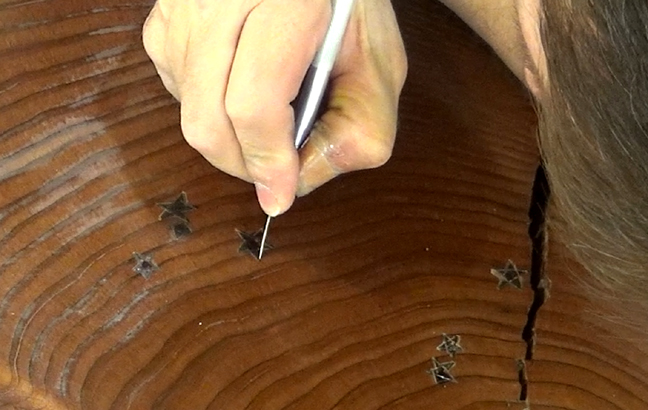
Then I scored around the edges with a small chisel and an Exacto knife.
Once I outlined the edges, I excavated most of the waste with a Dremel tool.
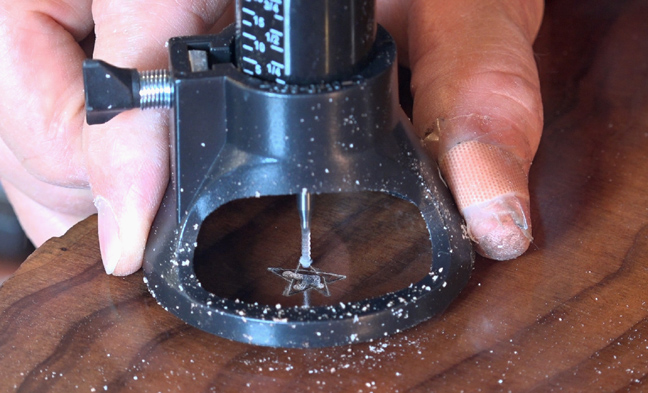
A Dremel is perfect for inlay work. Unfortunately, the Dremel base that I had was not. The base that I used is called a “Cut-Out” base and it is more suited for cutting holes in drywall than it is for very fine detail work. The problem is that it is difficult to make fine, or repeatable, depth adjustments. As a result, the excavations were a bit deeper than I would have liked. No biggie, but I would rather have used a higher quality base.
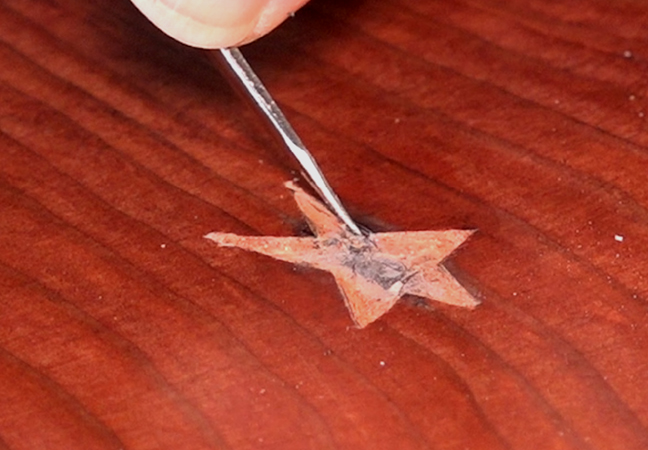
I used a small chisel and a detail knife to clean up the star recesses after roughing them out with the Dremel.
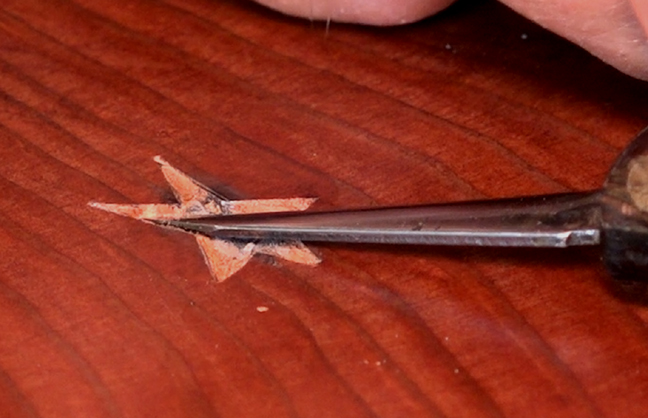
The detail knife was absolutely perfect for this task! The one that I use is similar to, but not exactly like the one in the link.
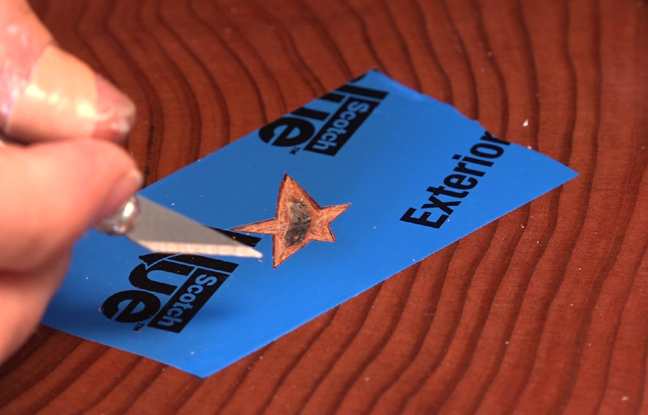
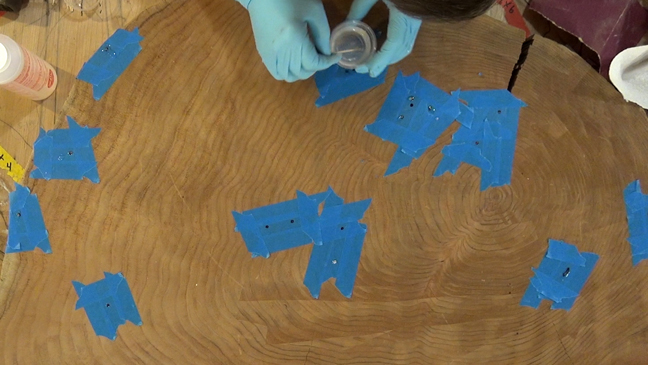
I masked the stars off with some really high-quality masking tape. It worked well for this job, but after reading the reviews I am not sure if it was the “best” product for the job.
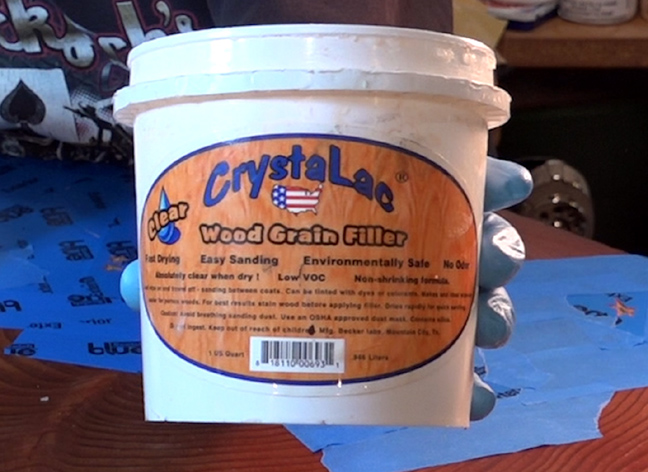
I was a little leery off epoxy after the problems I just had with it so I decided to use something different. I have had very good luck with a water based grain filler called Crystalac, so I decided to use that instead.

I used regular Rit dye that I bought at the grocery store to dye the Crystalac and it worked great!
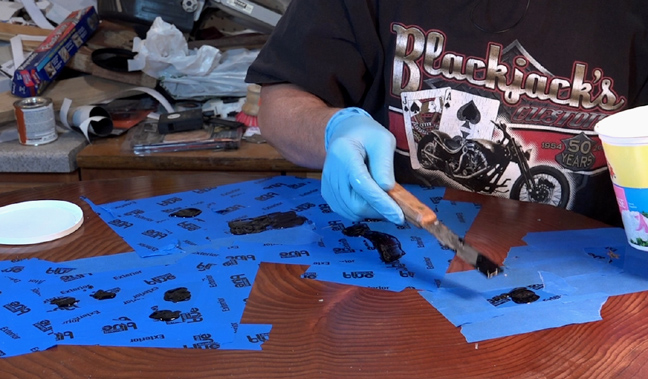
Adding Crystalac to the star recesses
Crystalac works great for filling grain, but it is not intended for filling these relatively large recesses. The downside was that it tended to shrink back and I had to apply multiple layers to bring it level with the surface.
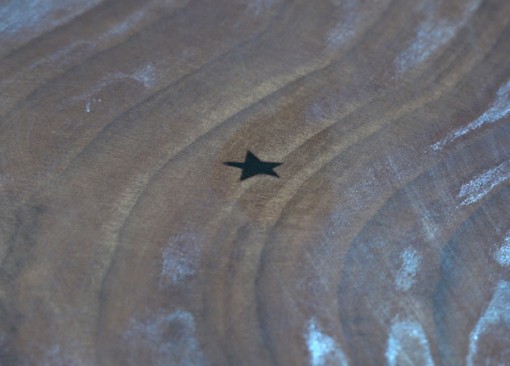
This is how the stars looked like when I removed the masking tape.
The good thing about the Crystalac is that is was very easy to sand down.
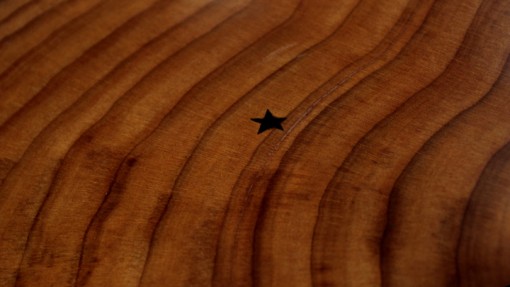
I am very happy with how they turned out. The end result was not only good, but it turned out to be a real conversation starter!

Please check out my other articles on the Slab Coffee Table:
- Carve and Texture a “Tree Trunk” Table Base
- Constructing a Coopered Table Base
- How to Flatten a Wood Slab with a Router
I hope you liked my article and I would greatly appreciate it if you would leave a comment to let me know what you think of it!
NOTE: I provide very honest assessments of the tools and materials I use in my projects, but I want you to know that many of the links on this page are affiliate links and will earn Jack Bench Woodworking a small commission. Using these links adds NO COST TO YOU, but helps keep Jack Bench sustainable and ensures that I can continue to offer woodworking videos and articles. Thank You!

